Technically Speaking – What is a SnapCap?

We’re back and ready to show off some new features of TapRooT® VI!
If you have been around the TapRooT® block for awhile, then you should know your way around a SnapCharT®. The SnapCharT® is the meat and potatoes of the TapRooT® software and it just got a whole new makeover! The designers here at System Improvements, Inc. thought long and hard on what features they could integrate into the software to make you, the user, a more intuitive SnapCharT®. Now, it is my job to present and guide you through a new feature called SnapCap®.
This new feature is pretty simple but yet packs a big punch when it comes to presentation time. With SnapCap® you can capture a portion of a SnapCharT® and save it to the attachment folder in the software. From the attachments folder, the captured images can be downloaded straight to the computer. This is helpful when a powerpoint presentation needs to be put together. Simply download the image, choose where to save the image on the local computer and put the image straight into a powerpoint slide.
In a recent blog post named Introduction to Report Builder for TapRooT® VI, we briefly mentioned using SnapCap®. With this feature, the user is able to include an important part of the SnapCharT® straight onto the report. For example, if a user wants to place a SnapCap® of the events and causal factors leading up to an incident, they can simply drag and drop the image on the report. Now, let’s take a closer look at this feature from start to finish.
When the SnapCharT® is open, notice that it looks a lot different. Just like a lot of web pages, notice the toolbar at the top. On the toolbar, locate the camera icon in the upper right-hand corner of the screen as shown in the picture below.

Once the camera has been selected, it will go into capture mode. This brings up a picture of the whole SnapCharT® that was created. For a larger SnapCharT®, you can use the scroll bars to move the page up, down, left and right to locate the section of the SnapCharT® that needs to be captured.
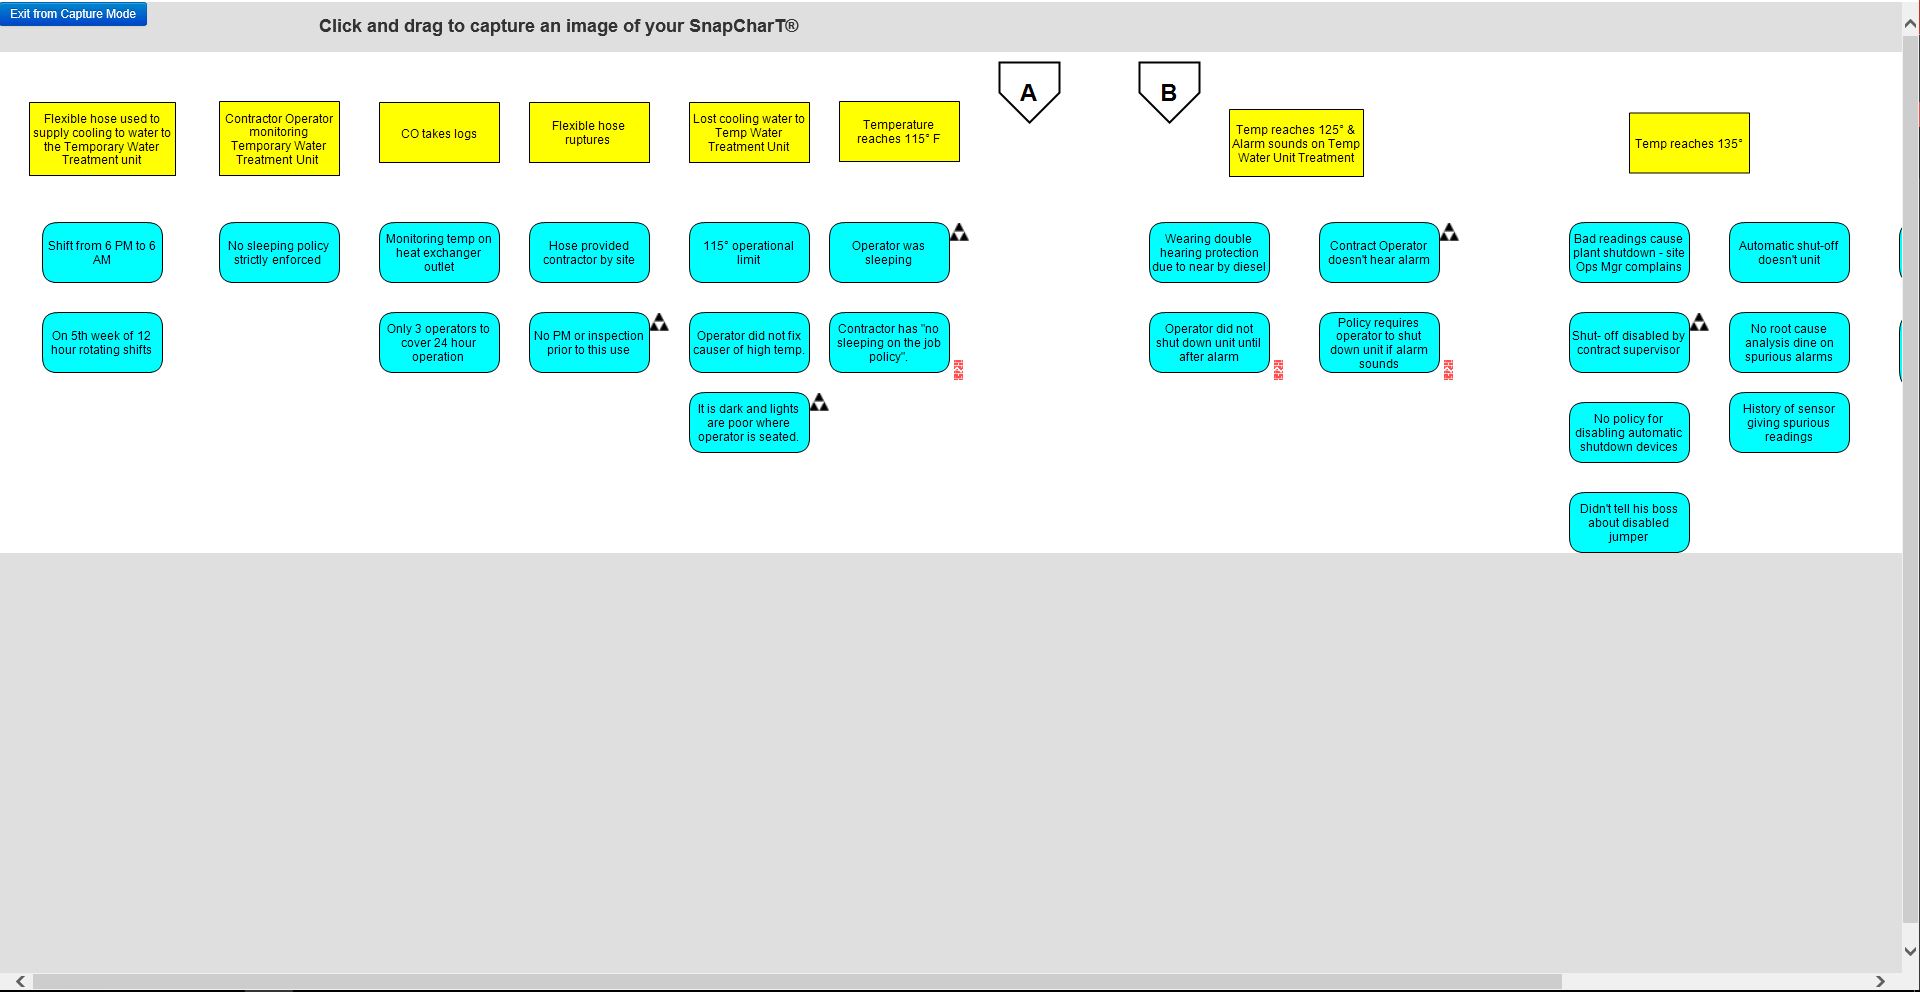
From this page, click to drag to capture an image of the SnapCharT®. The image can be as big or small as you want, so they can capture exactly they want to include in the SnapCap®. As seen in the image below, we have captured conditions, events, causal factors, and broken safeguards. Notice after the certain conditions, events, causal factors and broken safeguards have been selected, that there is a camera and a red X at the bottom of the screen.
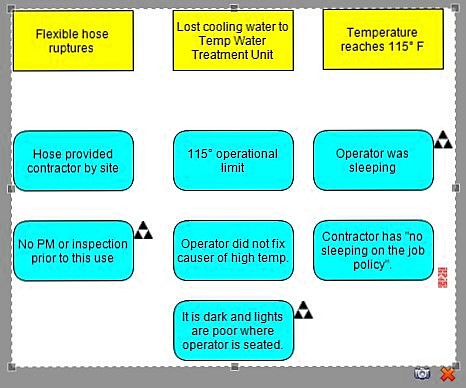
If the user is not happy with the SnapCap taken, they can select the ![]() icon and it will trash the image and a new image can be captured. Once the user gets a SnapCap® they are pleased with, clicking the camera the program will prompt them to name and save the image as seen below.
icon and it will trash the image and a new image can be captured. Once the user gets a SnapCap® they are pleased with, clicking the camera the program will prompt them to name and save the image as seen below.
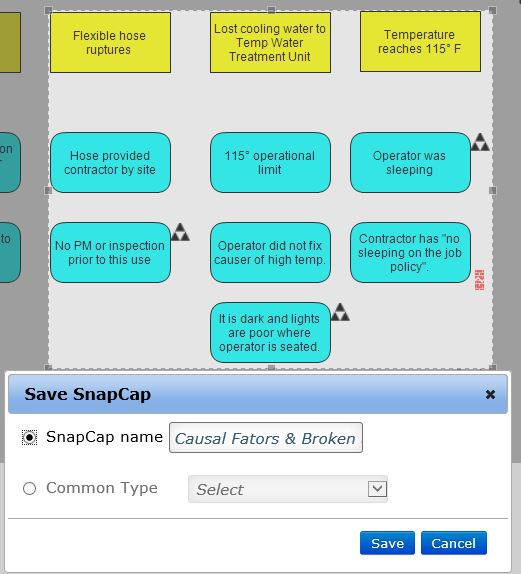
There will be a couple of options here when naming the SnapCap®. By selecting the SnapCap name option, the user can name the image that suits it best. If they choose Common Type, they can choose a more generic name from the options given in the drop box. Once saved and the user is done with the SnapCap feature, they can click the blue button in the top left- hand corner “Exit from Capture Mode” and this will take the user back to the SnapCharT®.
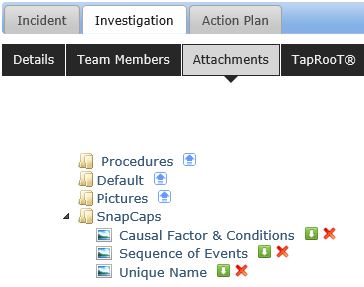
Now, as mentioned earlier, once the SnapCap® is saved it goes to the attachments section located in the investigation. The user can get here by minimizing the SnapCharT® page and clicking on the Attachments tab as shown below. As you may notice, the user has used two common names and a unique name to label the SnapCaps. Also, from this page, the user has the options to download the SnapCap to the local machine by clicking the ![]() icon or the user can delete the SnapCap from the investigation by clicking on the
icon or the user can delete the SnapCap from the investigation by clicking on the ![]() icon.
icon.
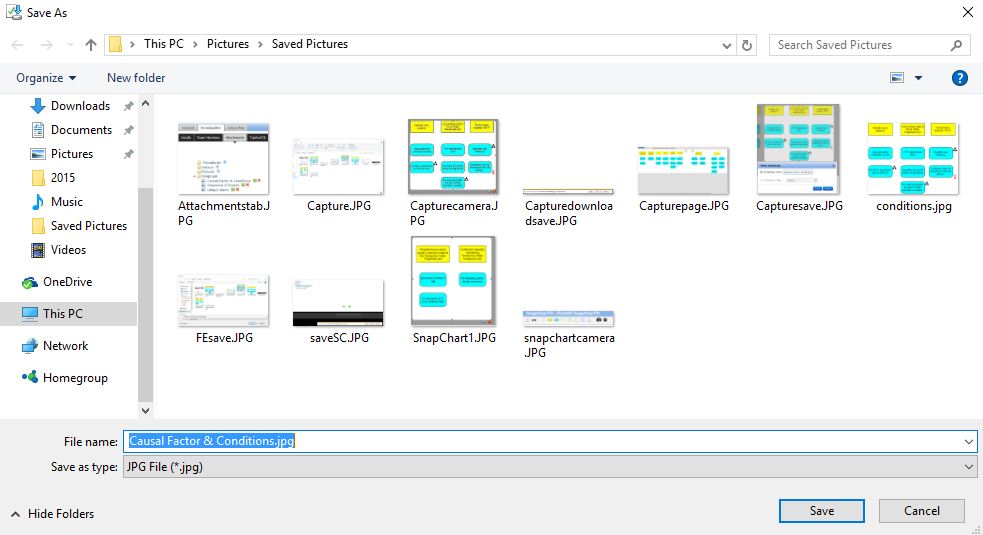
If the user wishes to save the SnapCap to their machine, they can simply click the arrow icon and they will be prompted to Open, Save, or Cancel this request at the bottom of the screen. If the user would like to save the file to a specific location they should choose Save as. This will bring up the File Explorer page, where they choose the specific file of their choice. In the image below, the user has chosen to save their SnapCap in the Saved Pictures folder. Now that the SnapCap is saved to the computer, these can be shared, or added to a PowerPoint.
So in this article, we have gone over what SnapCap has to offer and also how to utilize SnapCap within your own investigation. Snapcap is just one of the many new features TapRooT® VI has to offer and still plenty more to come! So now that we see what SnapCap has offer, it’s your turn to go use this feature and make your investigations stand out from the rest!
Technically Speaking is a weekly series that highlights various aspects of our Version 5 software, introduces you to the upcoming TapRooT® VI release and occasionally includes a little Help Desk humor
Remember, just because it’s technical, doesn’t mean it has to be complicated!


